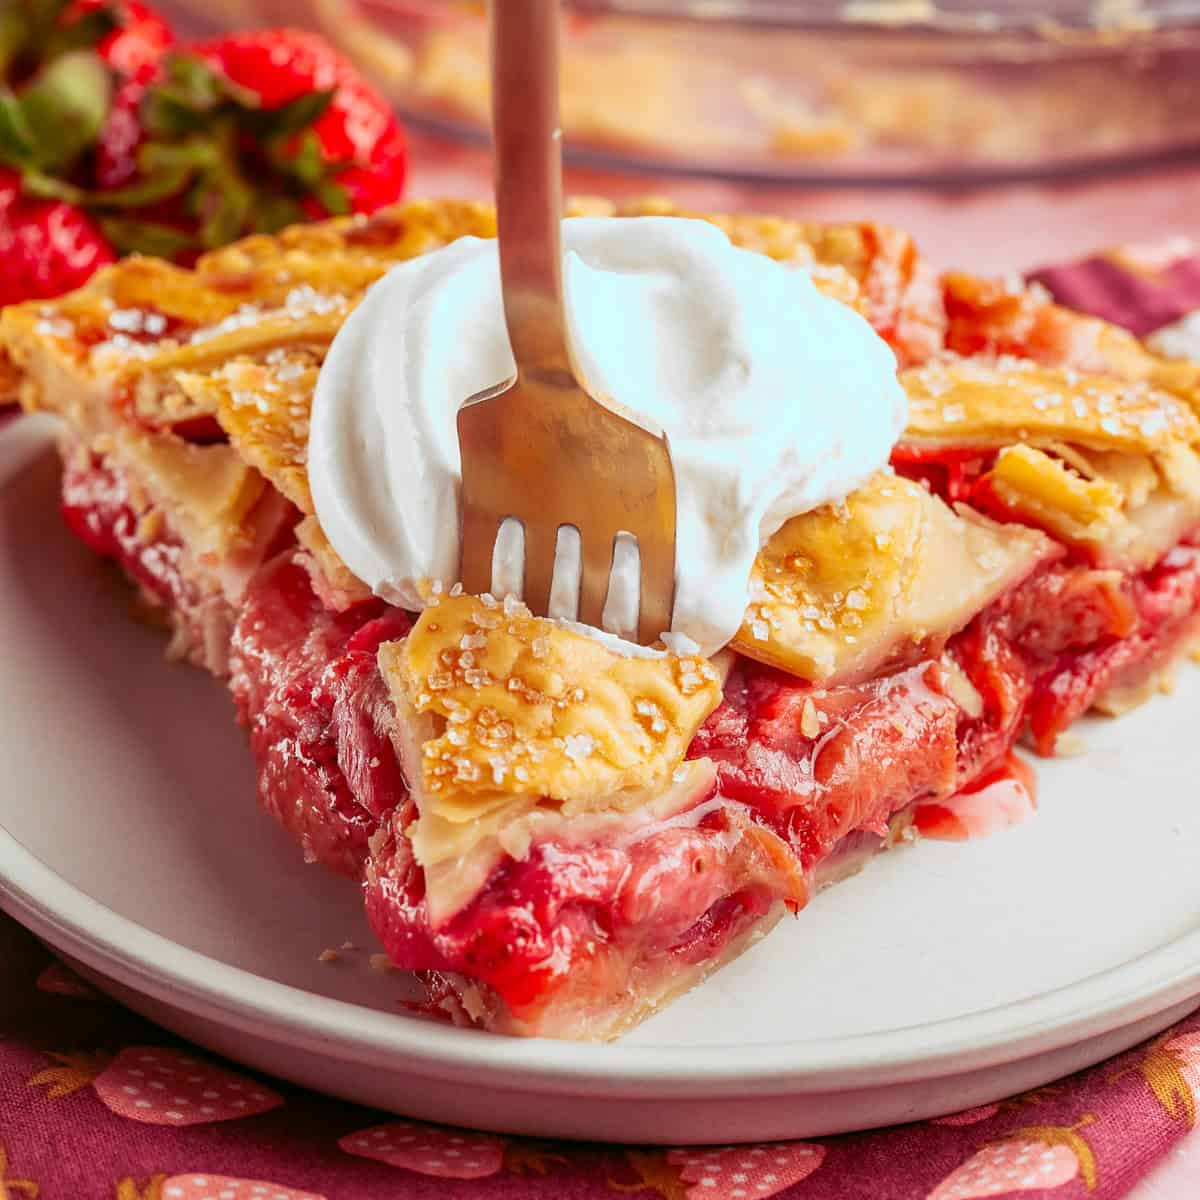
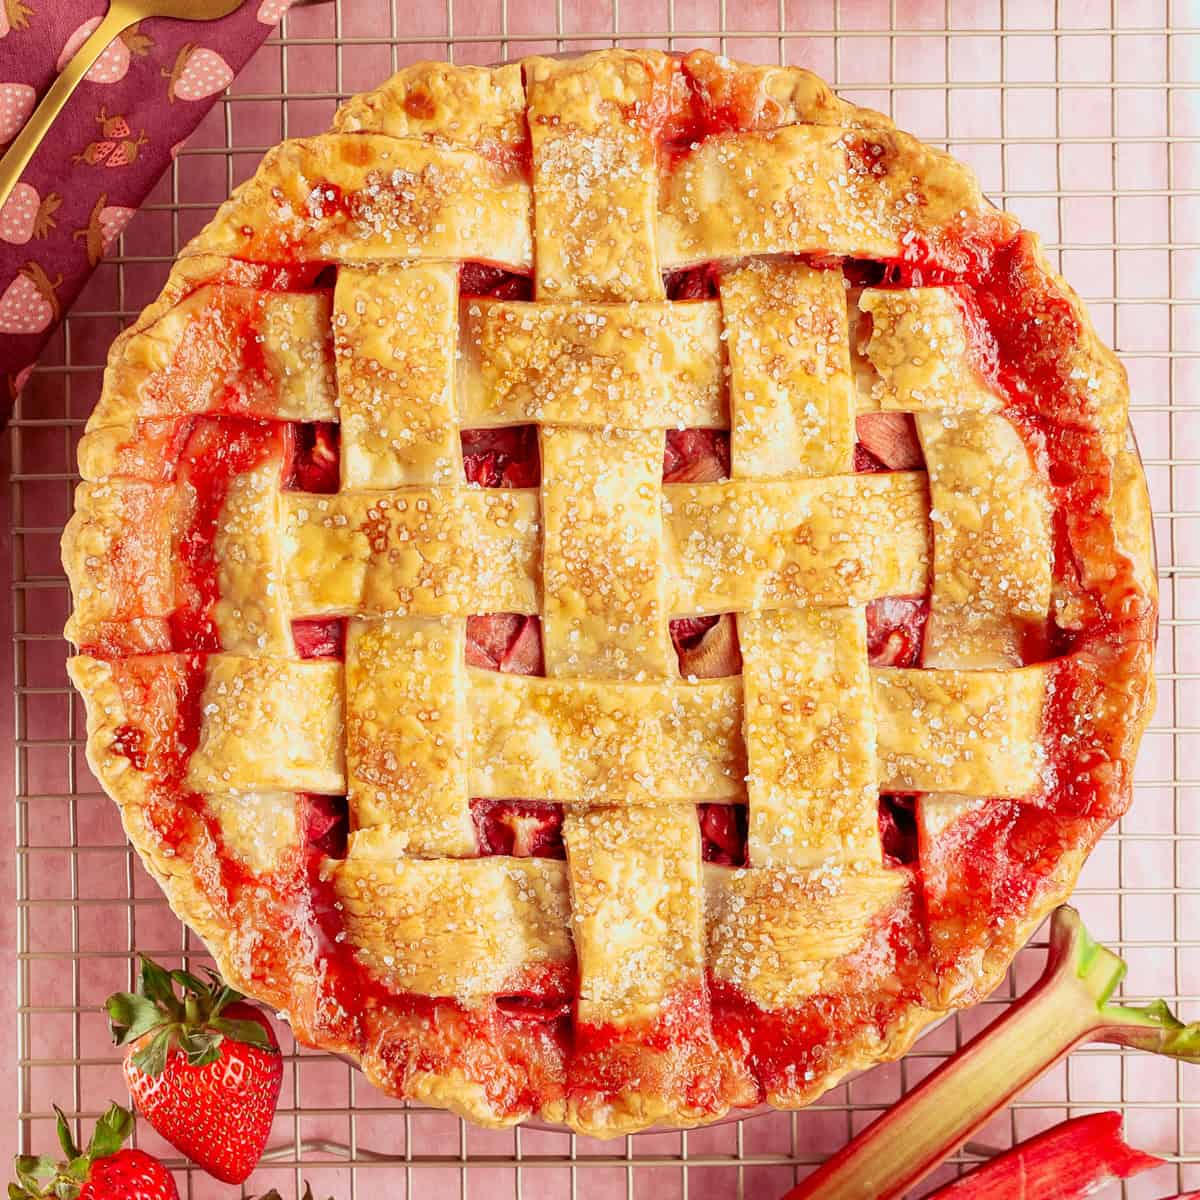
This strawberry rhubarb pie recipe is tart, sweet, and the kind of dessert that tastes like someone loves you. The ruby-red filling bubbles up beneath a golden lattice crust, and every bite is like a little slice of early summer. Whether you’re baking for a family get-together or just craving a nostalgic treat, this pie never disappoints.
This recipe makes a standard 9-inch pie, if you are cooking for one or two, a smaller 6-inch version is in the notes section of the recipe card.
Psst, here is a little secret, you might enjoy these poached pears are easy, quick and very yummy!
Mom would always joke and call this an “almost” Amish Strawberry Rhubarb Pie, and it was in her words, full-on Amish when she made her own flaky crust from scratch.
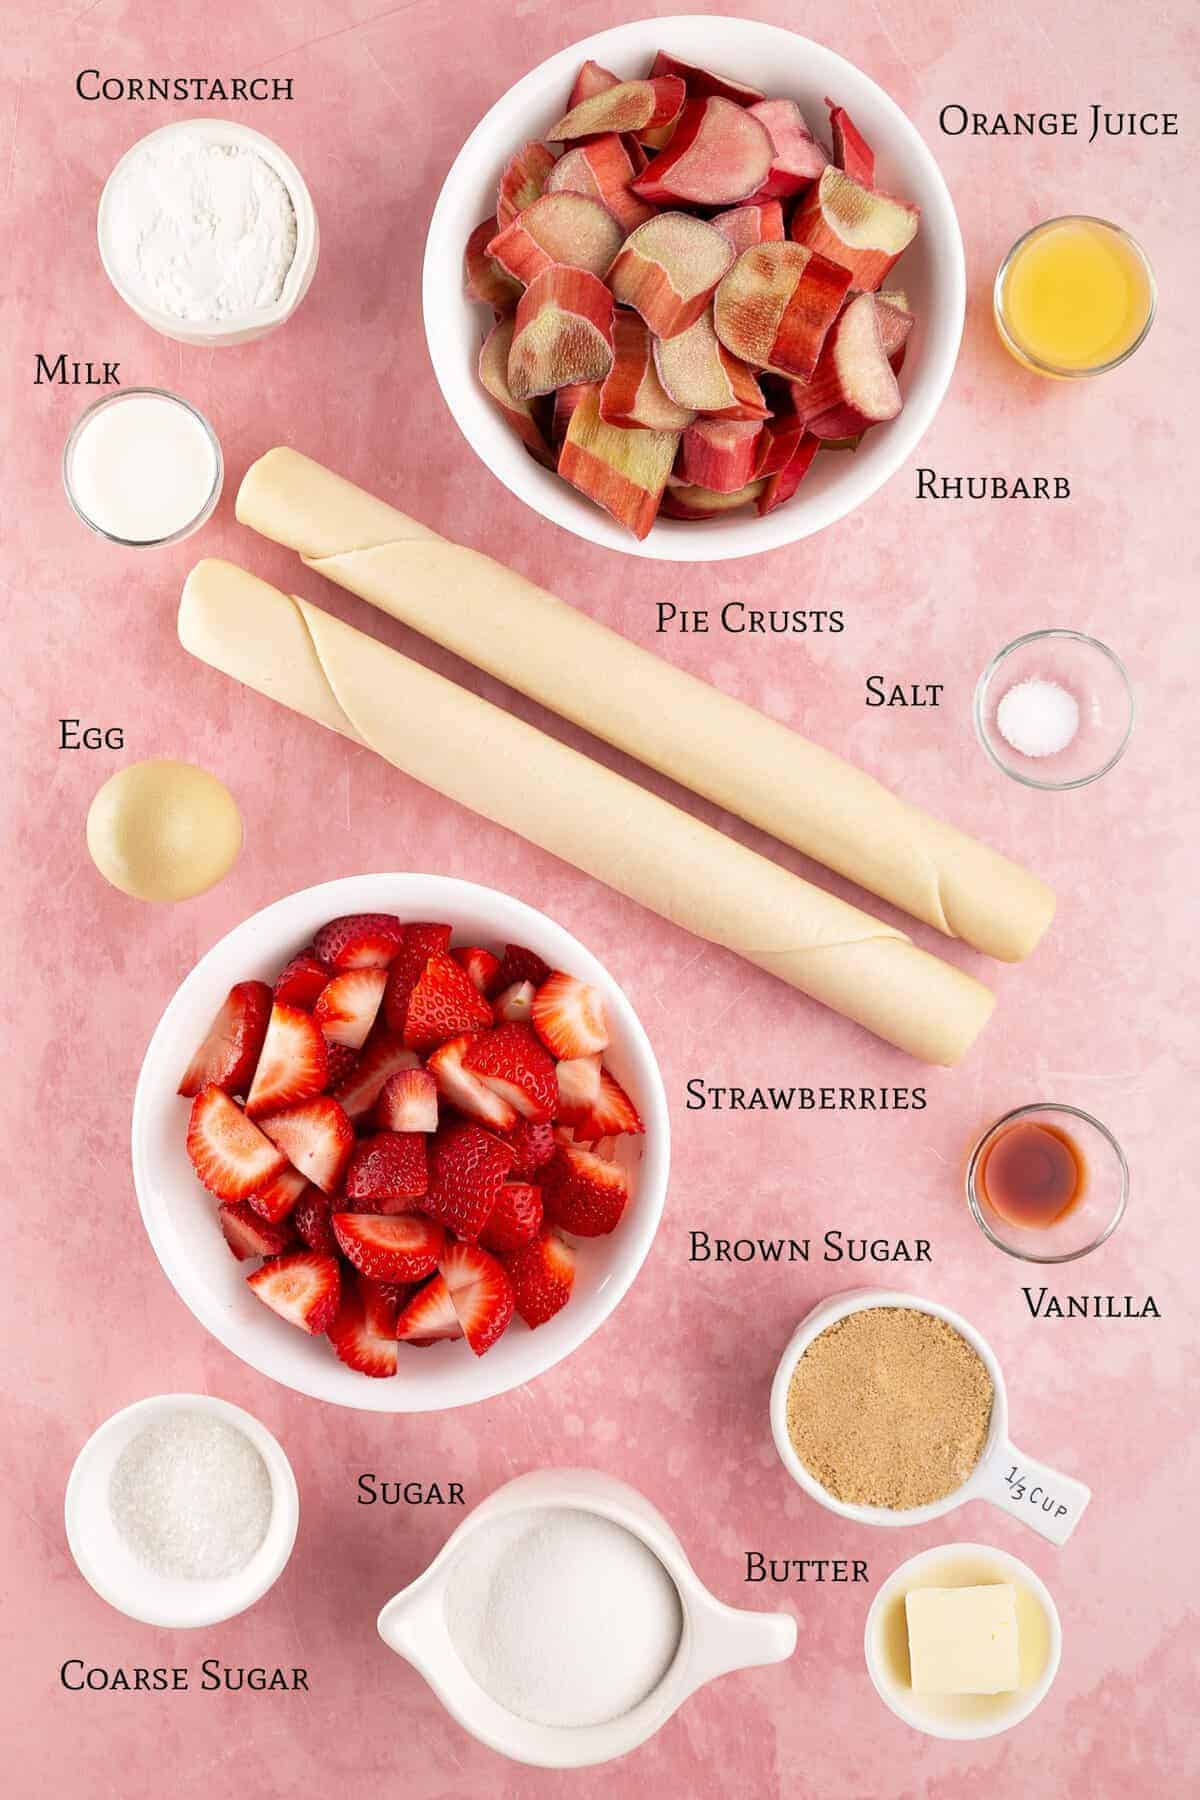
Ingredients Needed
What You Need to Know About Rhubarb
If you’ve never baked with rhubarb before, here’s a little crash course:
- Rhubarb looks like celery, but don’t let that fool you—this veggie (yep, it’s a vegetable!) is famous for desserts.
- Color matters: The deeper red the stalk, the sweeter and less tart the rhubarb tends to be. Pale green stalks could work just fine, but the redder varieties give the pie a prettier color and a slightly more mellow flavor.
- Fresh is best: Rhubarb season starts in early spring. Look for firm, crisp stalks without blemishes or limpness. You can also freeze sliced rhubarb if you want to enjoy it year-round.
Tips for the Best Strawberry Rhubarb Pie
- Don’t skip draining the juice: Discarding the extra liquid from the filling helps avoid a soggy bottom crust.
- Use fresh strawberries: Frozen berries can make the filling too watery.
- Egg wash is key: It gives the crust that beautiful, shiny golden finish.
- Add a pie crust shield: Or DIY it with foil to prevent over browning the edges.
- Chill before slicing: It’s tempting to dig in right away, but the filling sets beautifully once chilled.
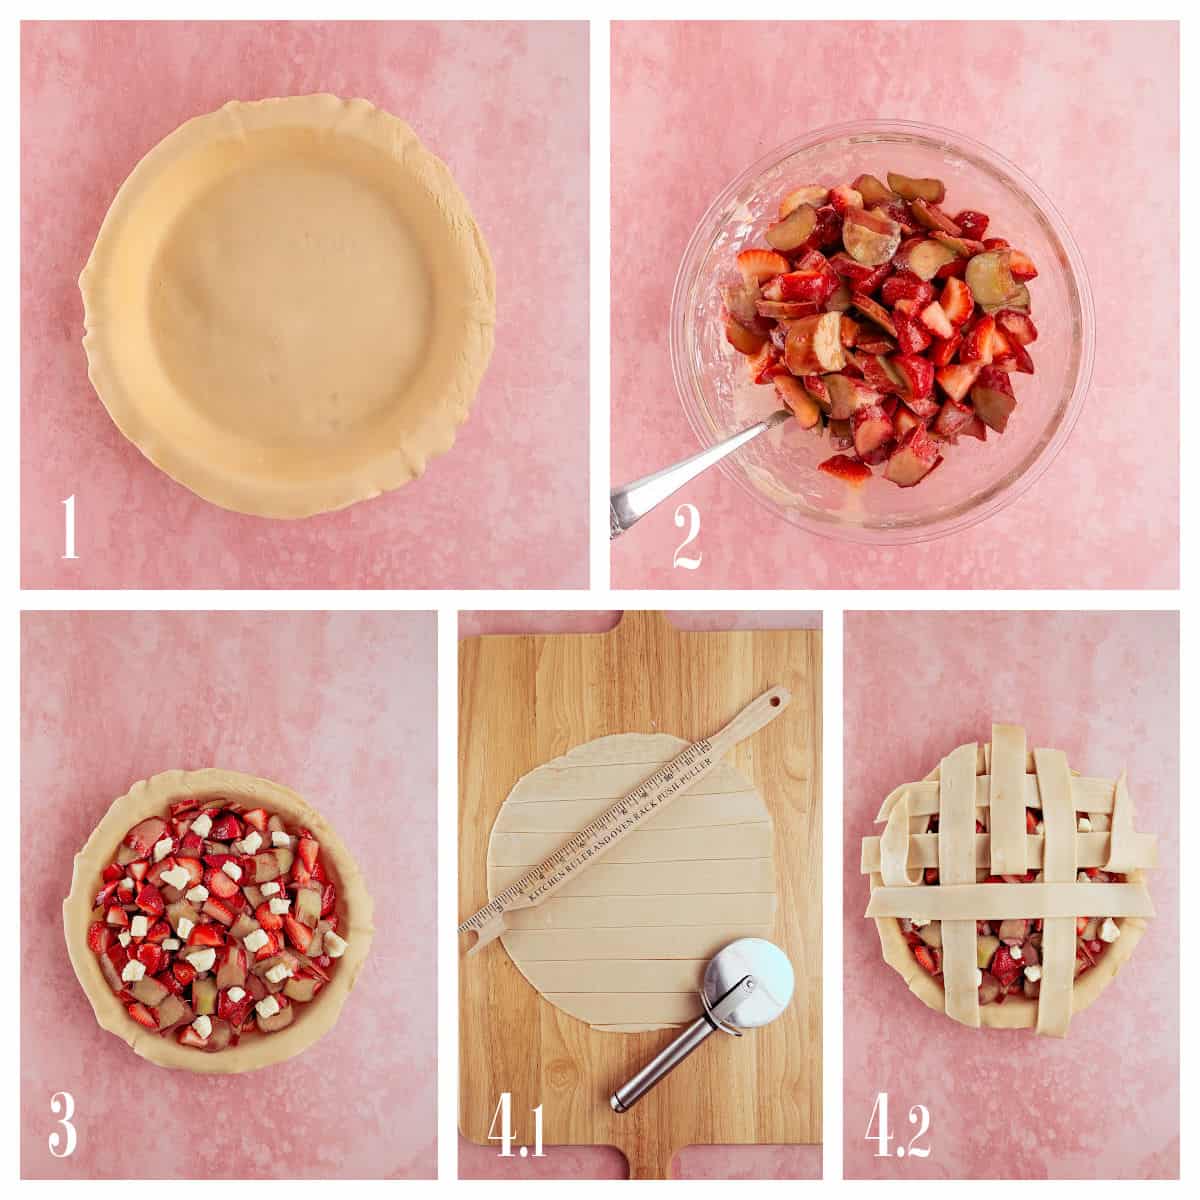
How to Make Strawberry Rhubarb Pie (Step-by-Step Photos)
Want a little visual help along the way? Below you’ll find step-by-step photos that match the instructions in the recipe card. Each photo is numbered to guide you through the process—from prepping the crust to weaving the lattice. If you’re a visual learner (or just want to see how things should look), this section is for you!
FAQs: Strawberry Rhubarb Pie
Can I make this ahead of time and freeze it?
This strawberry Rhubarb pie freezes well after being fully baked and cooled. Wrap carefully with plastic wrap, then freezer paper, before placing in the freezer. When ready to eat the pie, take it out of the freezer the night before and allow it to thaw. Let it come up to room temperature on the countertop before serving.
What substitutions can I make?
You can substitute lemon juice for the orange juice called for in the recipe. It will be tangier than the orange juice. If you don’t have orange juice and you don’t want to add tang to an already tangy pie, omit it.
Do I have to use a refrigerated crust for this recipe?
If you have the time, certainly make your favorite pie crust recipe. You will need a top crust and a bottom crust.
How to Store Your Pie
- Refrigerator: Cover the pie and store in the refrigerator for up to 4 days. This is a great make-ahead pie for gatherings.
- Freezing: Baked, cooled pies can be stored in the freezer for 2-3 months. Thaw the pie in the refrigerator overnight. Bring it to room temperature thoroughly before slicing and serving.Wrap tightly and freeze for up to 3 months. Thaw overnight in the fridge and rewarm gently in the oven before serving.
There are some recipes that just feel like home—and this Strawberry Rhubarb Pie is one of them. I’ve held on to Mom’s original recipe for years, and while I take a shortcut by using a store-bought crust, the filling is 100% fresh and homemade—just the way she did it.
Moms Strawberry Rhubarb Pie
Ingredients
Recipe Directions
- Preheat oven to 400°F. Press one crust into a 9-inch pie pan and refrigerate while you make the filling.
- In a large bowl, stir together rhubarb, strawberries, both sugars, cornstarch, salt, orange juice, and vanilla. Let sit while the oven heats—this draws out the juices.
- Use a slotted spoon to scoop the fruit (not the juice) into the crust. Dot the top with butter. Optional: sprinkle extra sugar if you like it sweeter.
- Cut strips from the second crust and create a lattice pattern, or simply place it on top with steam vents.
- Crimp the edges and brush with egg wash. Sprinkle with coarse sugar if using.
- Place pie on a rimmed baking sheet. Bake at 400°F for 20 minutes, then reduce to 350°F and bake 30–40 more minutes. Cover the edges if browning too fast.
- Cool completely: Let cool on a rack for at least 3 hours. For best results, chill in the fridge another 3–4 hours (or overnight!) before slicing.
Want New Recipes By Email?
If you’d like new cooking-for-one recipes and small-batch favorites delivered by email, that’s what my Substack is for! Join A Weekend Cooks TableNotes
Because this pie filling is very juicy, you will have some juices bubbling up and over the edge of the pie pan. To protect your oven, place the pie on a rimmed baking sheet while the pie is in the oven
The first piece of this pie is a little tricky to remove. Use a small offset spatula to gently run under the edge of the crust, loosening any areas where it is stuck to the pie pan. It is a good idea to slide the spatula down the inner sloped edge to loosen the crust from the pie pan. Use a pie server to lift the pie slices out of the pie pan for serving. The other pieces will be easier to remove since you have room to loosen the crust from the side. Even if your pieces are not perfect, they will still be delicious!
Your Private Recipe Notes
Get new recipes by email
Subscribe to get new posts delivered to your inbox.