

You can make one cup of homemade peanut butter in less than ten minutes with just peanuts, a little honey, and a food processor. Peanuts are inexpensive, and making your peanut butter is another way to control the amount of sugar and sodium you consume.
Keep dry roasted peanuts and honey in the pantry, and make this homemade peanut butter recipe in smaller batches.
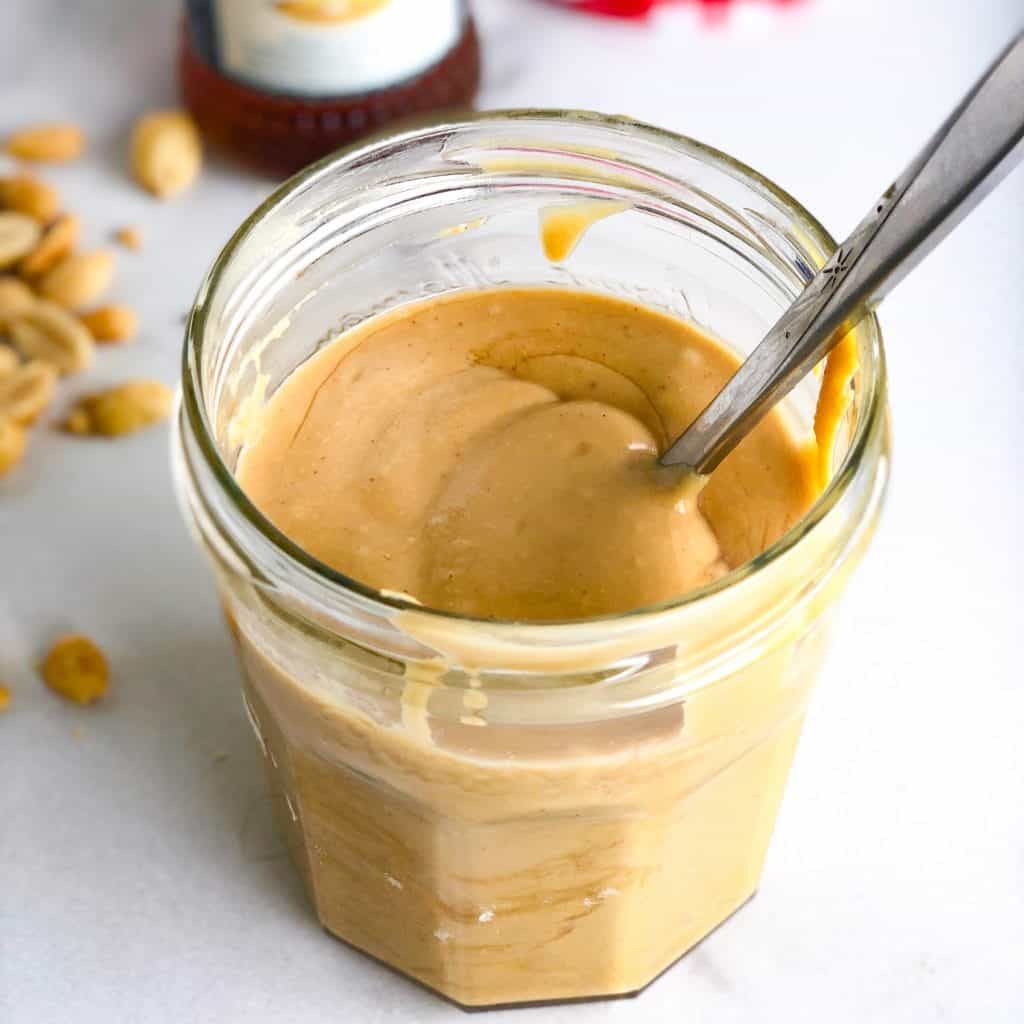
I made some peanut brittle last week and had a bunch of leftover peanuts, so I pulled down the little food processor and made my own with just the perfect amount of salt and honey!
Recipe Ingredients
- Peanuts: I buy the ones without salt so I can control the amount of salt in my peanut butter recipe.
- Honey: Only use the real stuff! Honey adds a hint of sweetness and is also a natural preservative.
- Vegetable Oil: Just a bit of oil helps the peanut butter to maintain a smooth consistency. You’ll add more oil if you want a pourable peanut butter that is more of a sauce.
- Salt: Finely ground sea salt will give the peanut butter a pleasant, clean taste and avoid a gritty texture.
Equipment Needed: You will also need a food processor. My Cuisinart finally died so I replaced it with a smaller 3.5-cup KitchenAid model, which I love. Since I mostly cook for two and have a small kitchen, so I appreciate the smaller footprint.
Step-by-Step Recipe Instructions
All you need to do is place the dry roasted peanuts in the food processor and run for about 5-6 minutes until the peanuts transform into smooth and creamy butter. I have a smaller unit, so I will stop the food processor every 30-45 seconds or so to keep the motor from overheating.
Start with 1 1/2 cups of peanuts, making about 12 ounces of finished peanut butter.
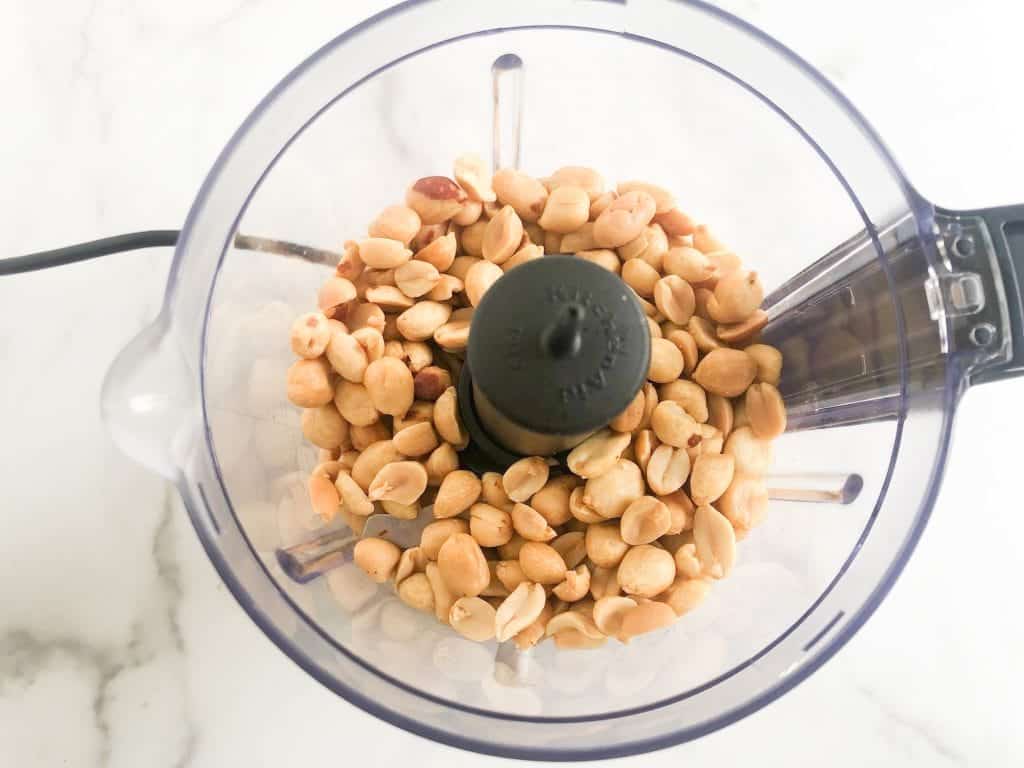
Run the processor on chop for about 45 seconds.
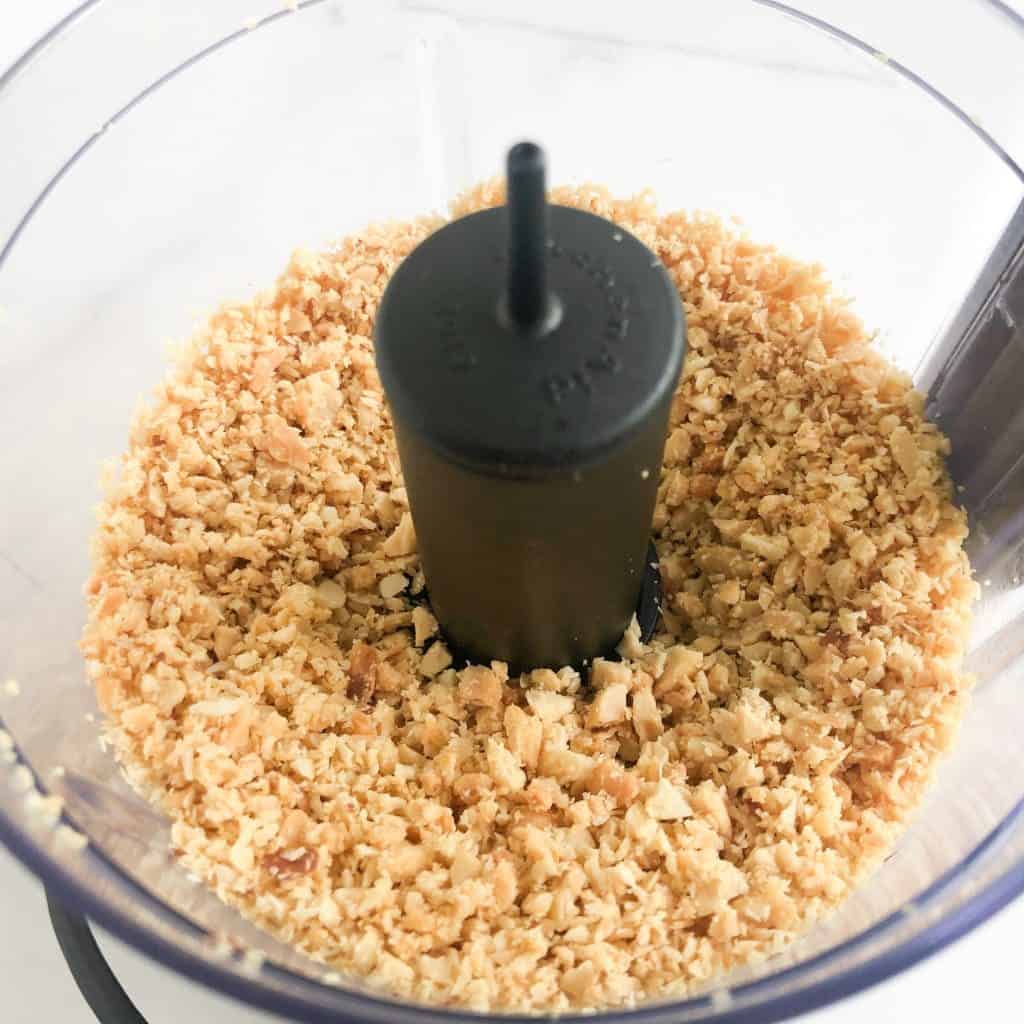
Switch to the Puree setting and continue to run for about 3-4 minutes, depending on how creamy you like your peanut butter.
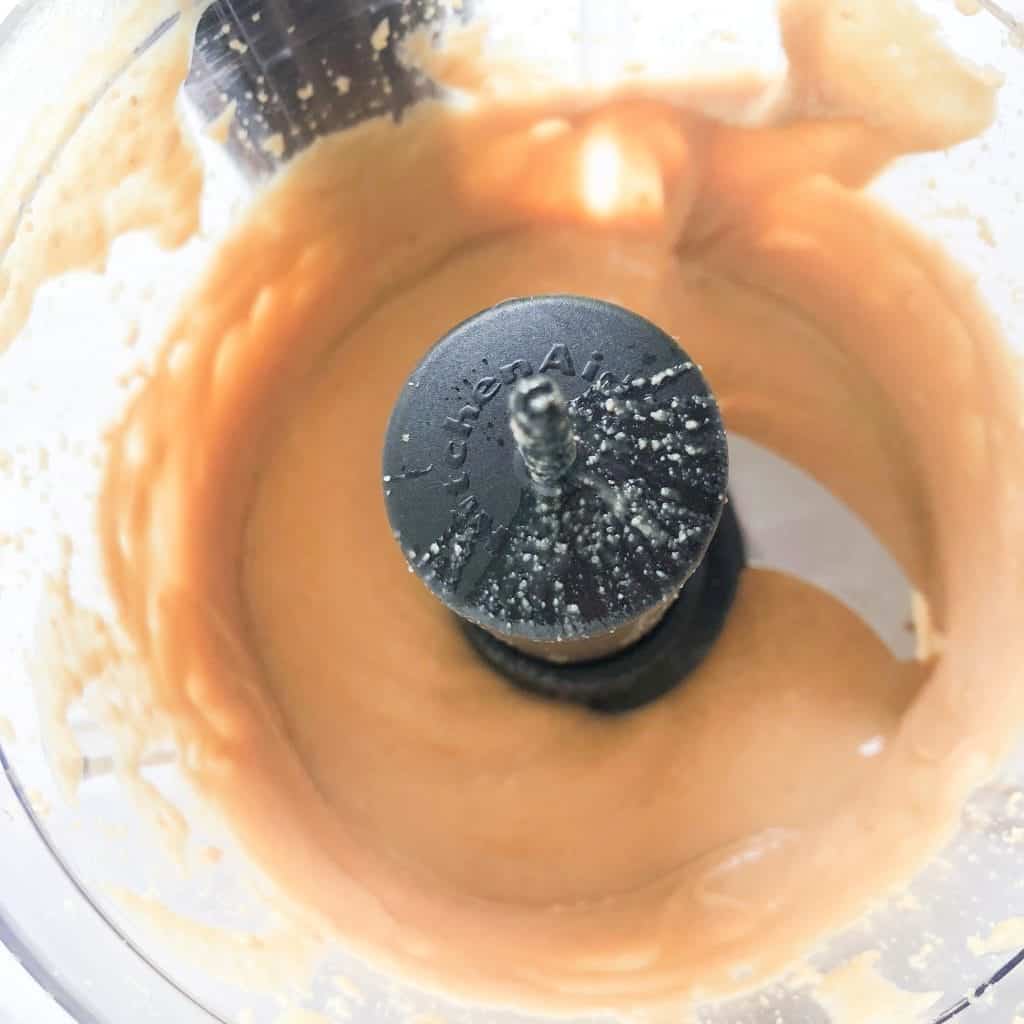
Next, add the honey, oil, and salt. Taste the peanut butter and add salt and additional honey to your taste. Add more oil if you want a thinner peanut butter.
Store the peanut butter in the fridge. My old Bonne Marman Jam jars are perfect for storing homemade peanut butter.
Do you need to refrigerate homemade peanut butter?
Yes, it should be refrigerated because the oils can become rancid if left at room temperature for too long. To soften, remove from the refrigerator and let sit at room temperature for 30 – 45 minutes.
Can you freeze the peanut butter?
Yes, freeze the peanut butter in a freezer-safe storage container for up to six months. I freeze homemade peanut butter in amounts needed for my chocolate peanut butter cups and cookies.
How to make peanut butter spread without a food processor
You can make homemade peanut butter in a blender, but it usually takes a little more stopping and scraping than a food processor. Add the peanuts to the blender and start on low speed so they break down evenly. Once the mixture starts clumping and moving less freely, stop and scrape down the sides as needed-this is the stage where blenders often struggle, especially with small batches, because the peanuts can sit below the blades without fully circulating.
When the peanuts begin to look smoother and more creamy, increase to medium speed. Drizzle in the honey and keep blending until the peanut butter reaches your preferred consistency. A blender can work well if you are making a larger batch and have a strong motor, but a food processor usually works better for small batches because it moves thick nut mixtures more easily and requires less scraping. If the mixture seems too thick to blend smoothly, add a small amount of oil only as needed to help it along.
HOMEMADE PEANUT BUTTER: Frequently Asked Questions
No, you can leave it unsweetened or add some brown sugar, or maple syrup.
Be patient when grinding the peanuts; it will take a few minutes to get to the creamy stage. Also, avoid using coarsely ground salt.
Follow the recipe above and then fold in some coarsely chopped peanuts to add crunch.
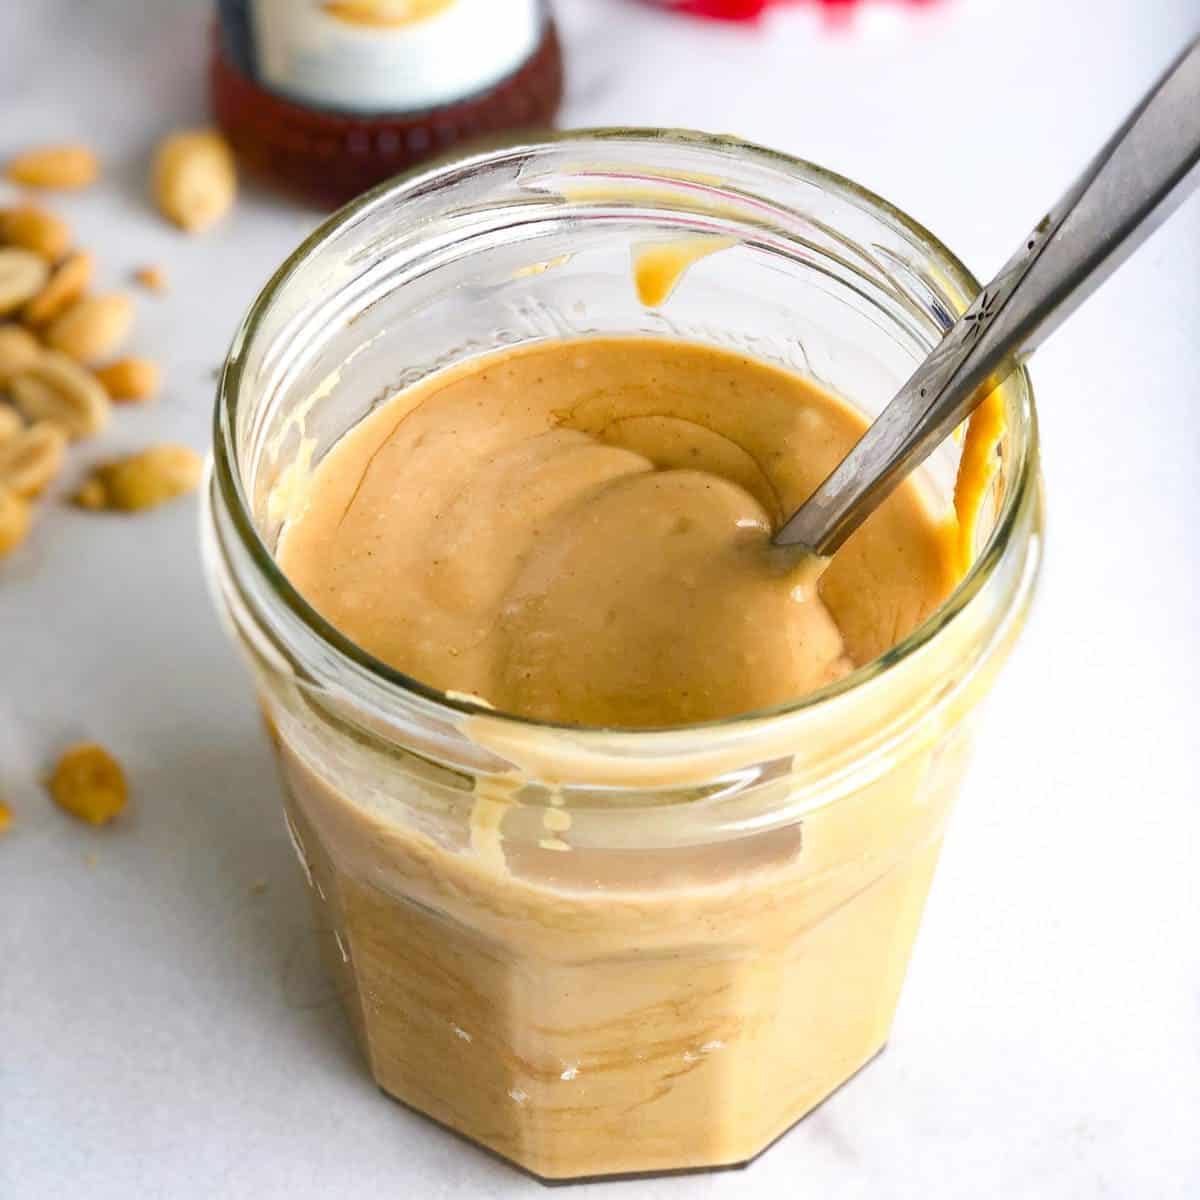
Homemade Peanut Butter
Ingredients
Recipe Directions
- Place peanuts in the food processor on "Chop" for about 45 seconds.
- Use the "Puree" setting and run for another 3-4 minutes depending on how smooth you want the peanut butter. Halfway through drizzle in the honey. The peanuts will go from crumbly to creamy in a matter of minutes.
- Tate to see if you need to add salt or would like additional honey for sweetness.
Nutrition
Notes
Your Private Recipe Notes
Also, try this homemade single loaf of Amish white bread.
Love recipes made with peanut butter? Read How to make homemade peanut butter fudge and How to make homemade peanut butter cups.
simple recipe, taste great