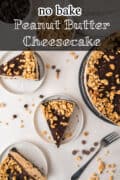
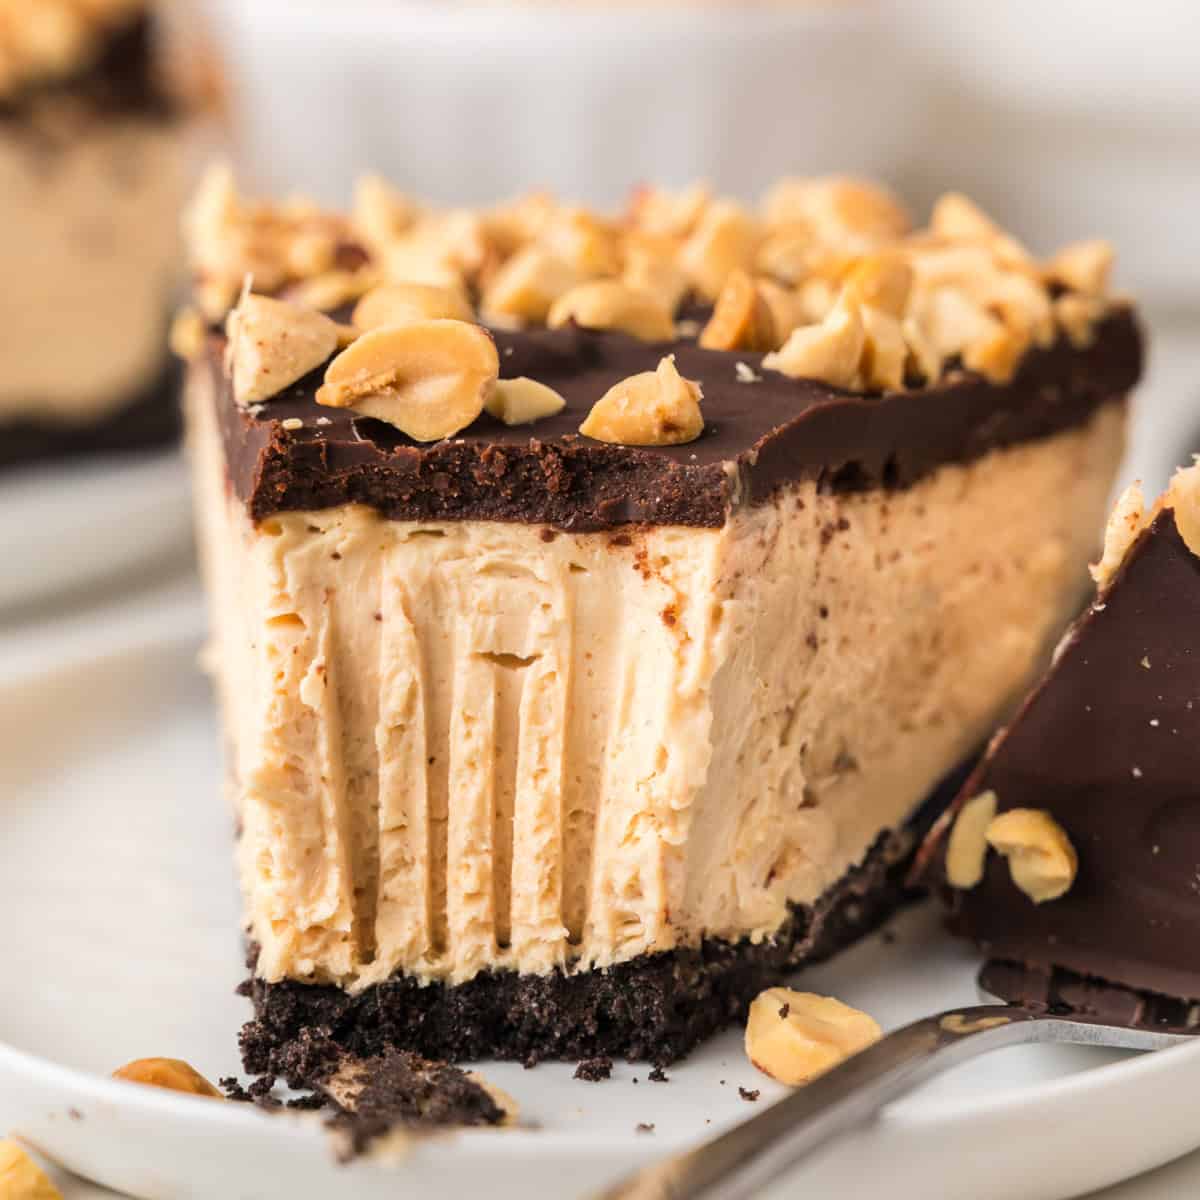
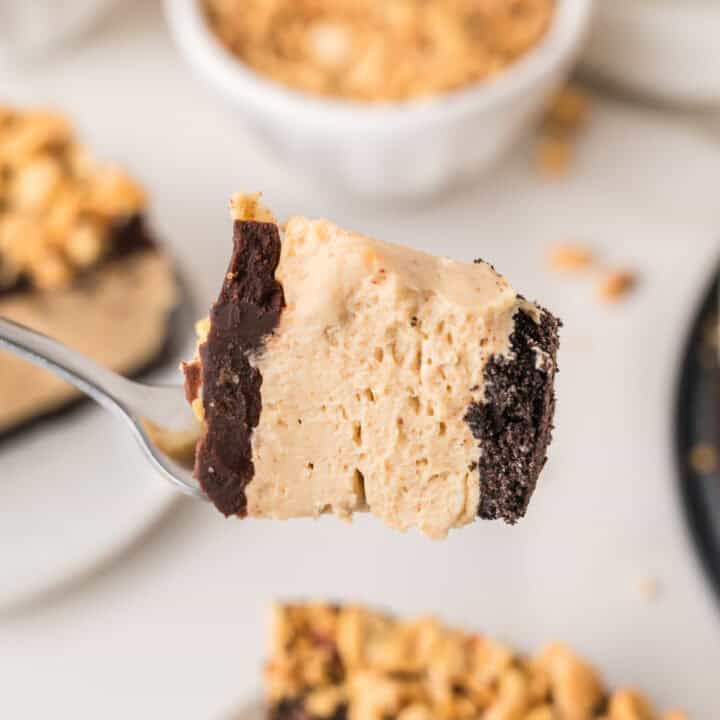
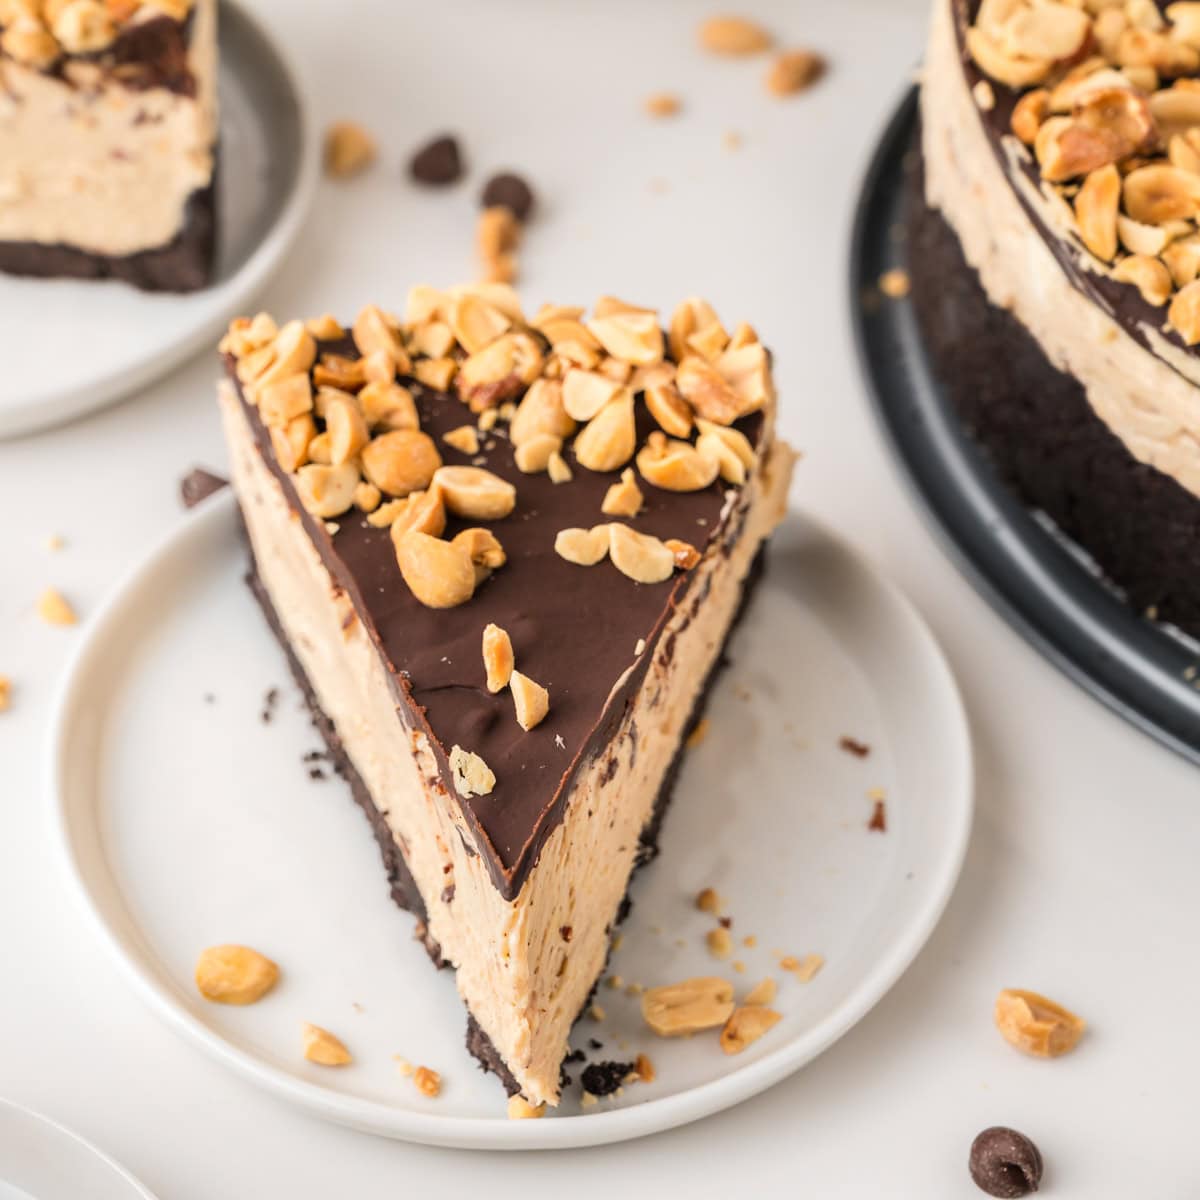
This no-bake peanut butter cheesecake delivers a rich, creamy filling on a buttery graham cracker crust and no oven required. The texture is smooth and mousse-like, with just enough tang from cream cheese to balance the peanut butter. It’s an easy make-ahead dessert for gatherings: assemble, chill until firm, then finish with a drizzle of melted chocolate, a sprinkle of salted peanuts, or a swirl of peanut butter. Use a springform pan for clean slices and a professional look. Simple ingredients, minimal effort, impressive results.
If you’re baking just for yourself, I usually make this instead → Small Batch Blueberry Cheesecake Parfait
Browse other weekend desserts to share!
Ingredients Notes
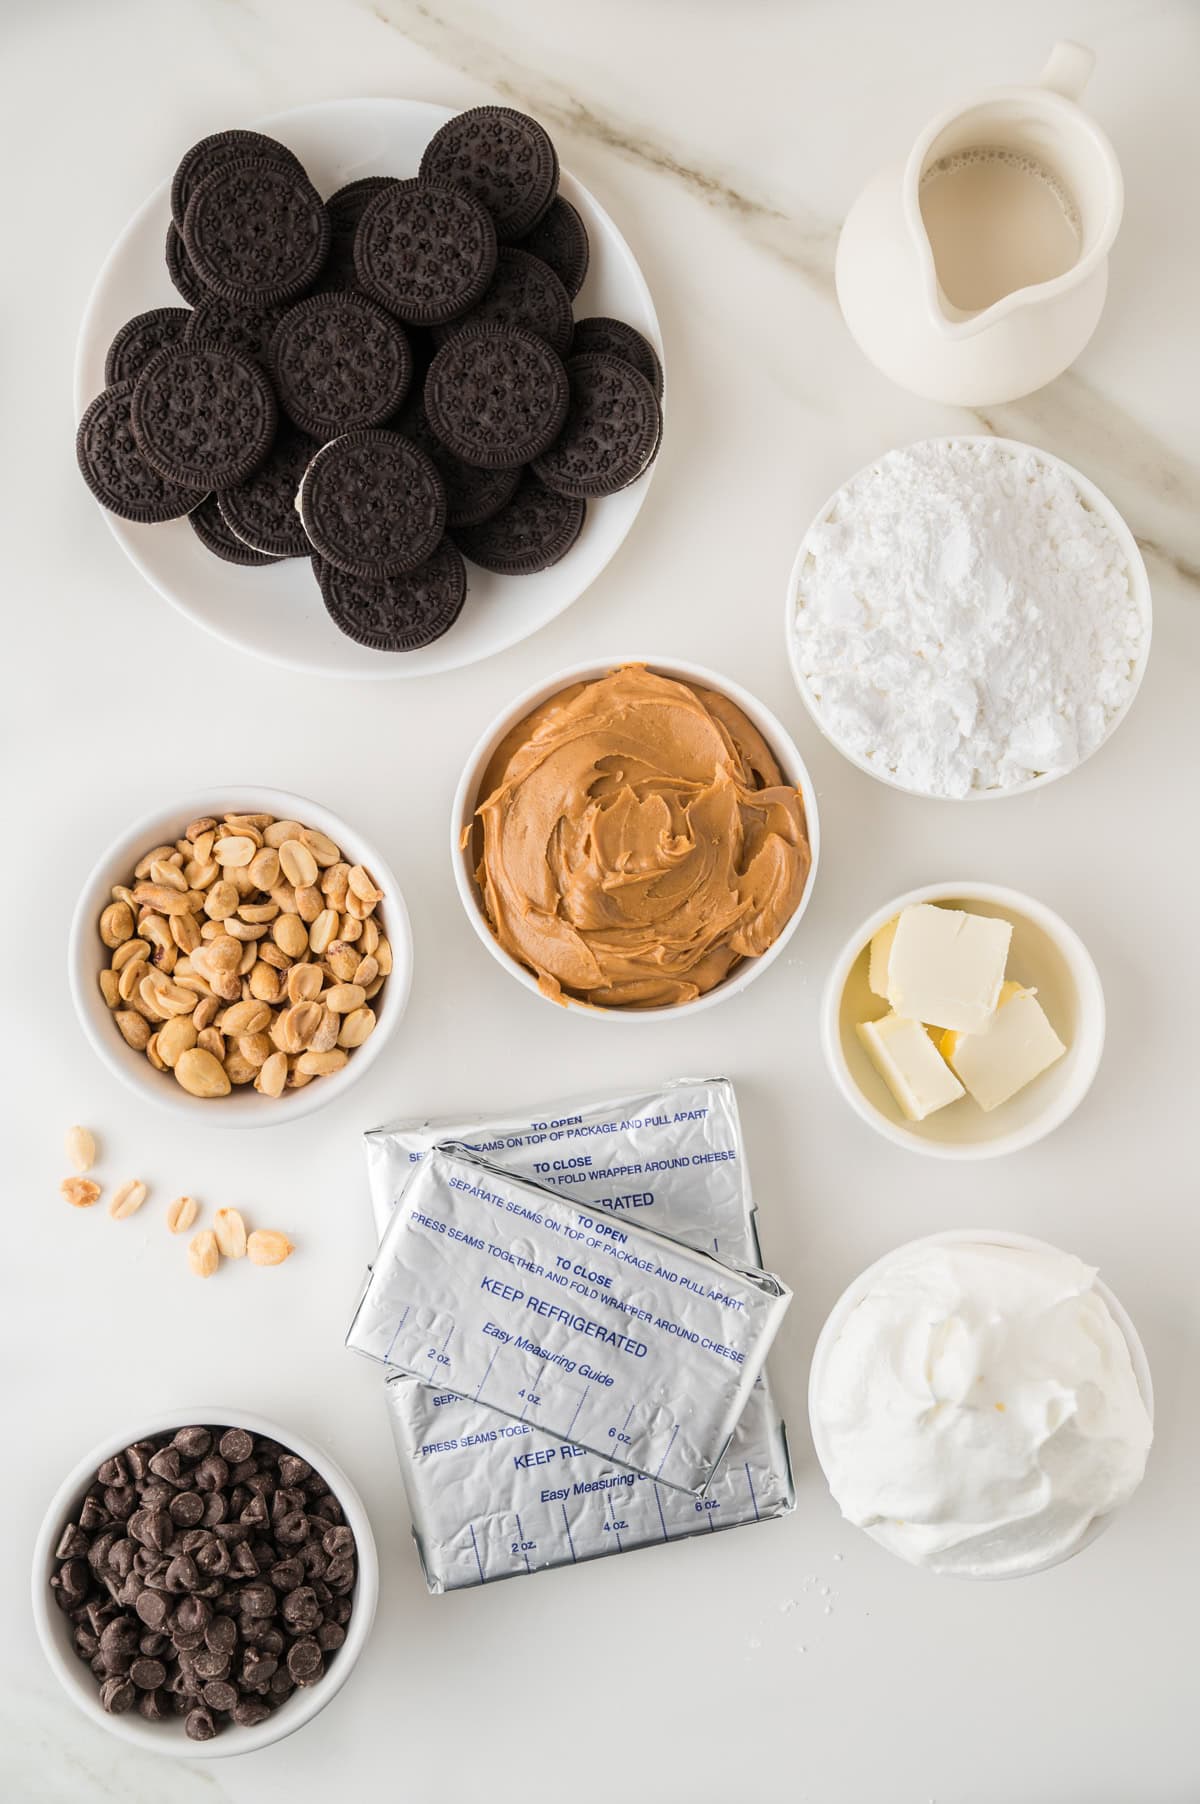
- Oreos or other chocolate sandwich cookies ae used for the cheesecake crust.
- The cream cheese should be softened before beating in with the rest of the ingredients.
- Use only creamy peanut butter to ensure it mixes in with the cream cheese well.
- Only powdered sugar was tested in this recipe, do not omit or substitute.
- Whole milk and Almond milk both work fine in this recipe.
- The Cool Whip helps give the cheesecake a slightly lighter texture, while still being incredibly rich from the cream cheese and peanut butter.
- Only semi-sweet chocolate chips were tested with this chocolate topping recipe.
- Half and Half and heavy cream both work well with the melted chocolate to make a firm top chocolate layer for this cheesecake.
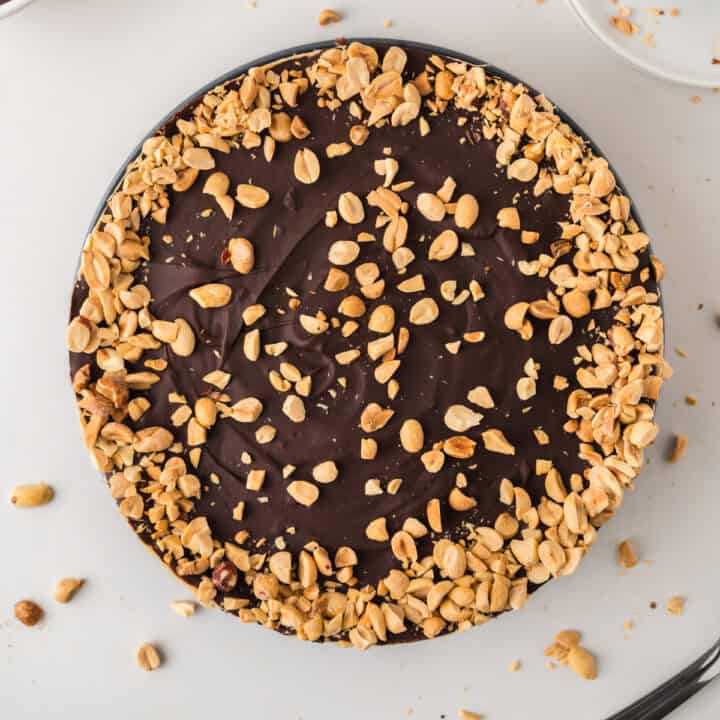
- Use chopped Peanuts, If you don’t have any, you can omit them.
Recipe Tips
- Be sure the cheesecake has set completely before adding the chocolate topping.
- Do not skip setting the cheesecake again after adding the topping, and before cutting, otherwise the cheesecake will squish when cutting it. You may notice the topping is hard after 20-30 minutes, do not try slicing the cake at this time.
Do I have to add the chocolate topping?
No, you don’t have to have a top layer, this can be completely up to you. It will taste fine without the top layer, it simply won’t be as chocolatey.
How do I not crack the top while cutting it?
To not crack the top while cutting, first take a very sharp knife and score the top layer, then gently.
Step by Step Process Images
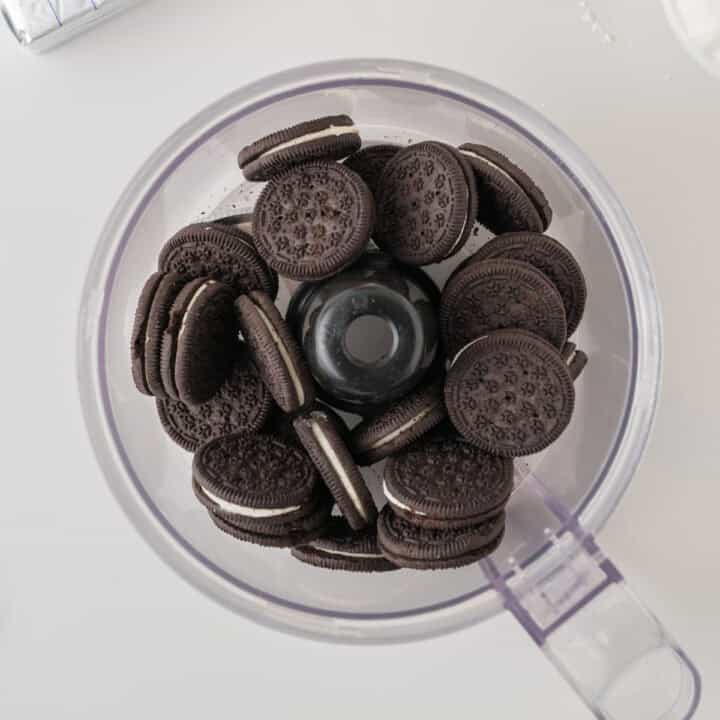
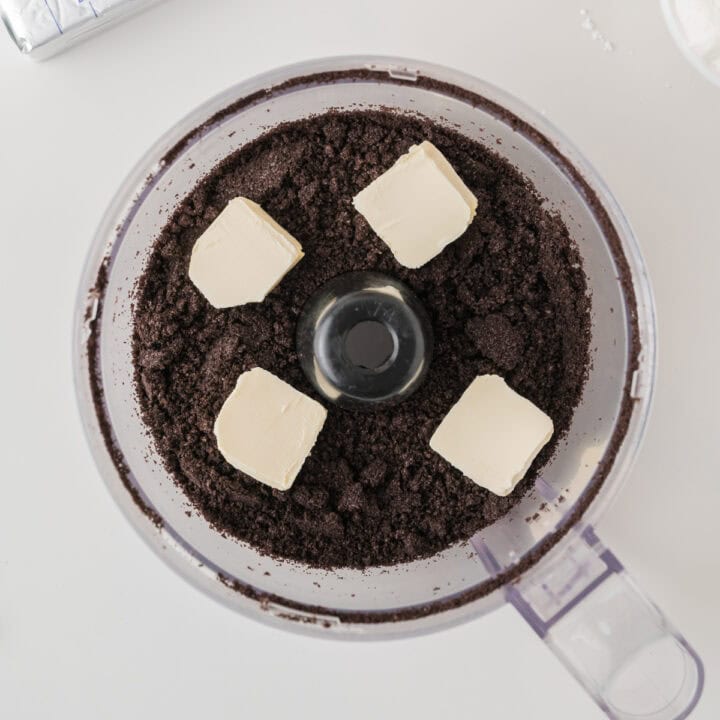
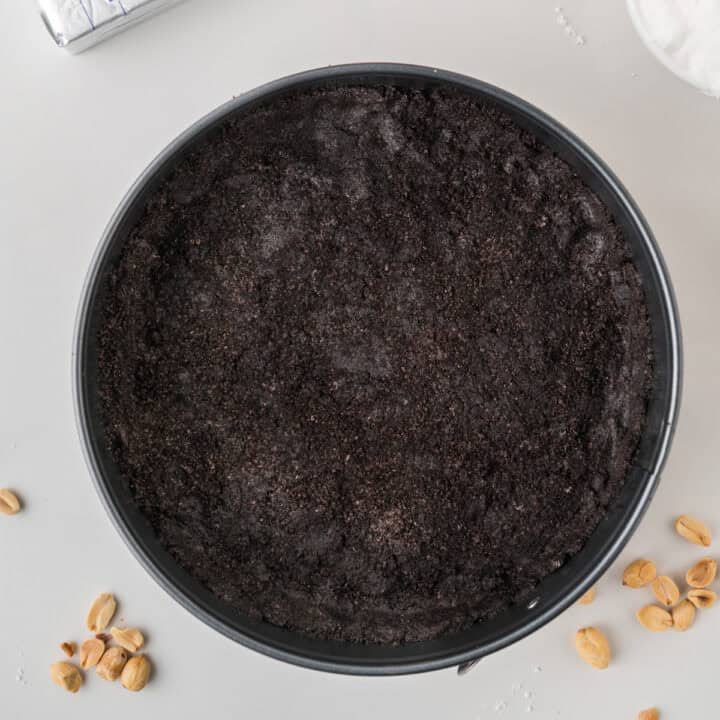
Oreo Crust
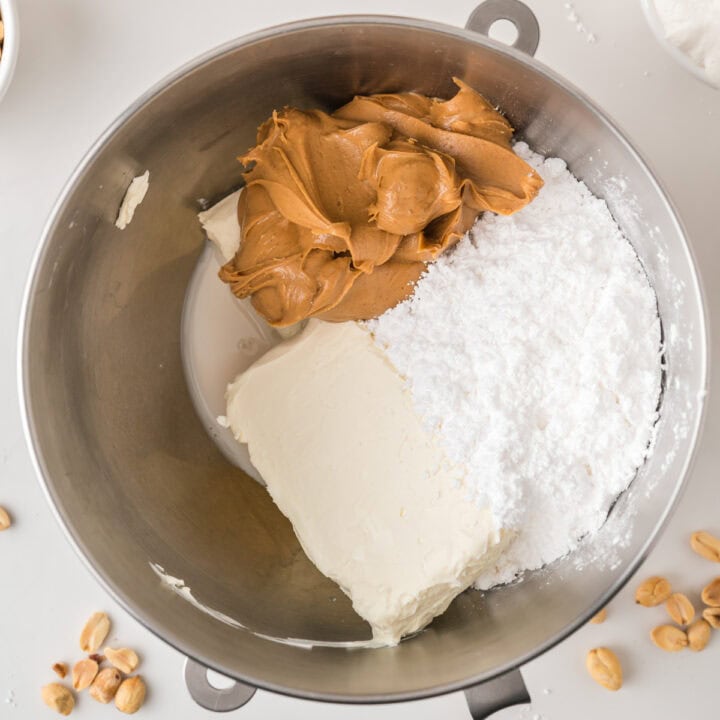
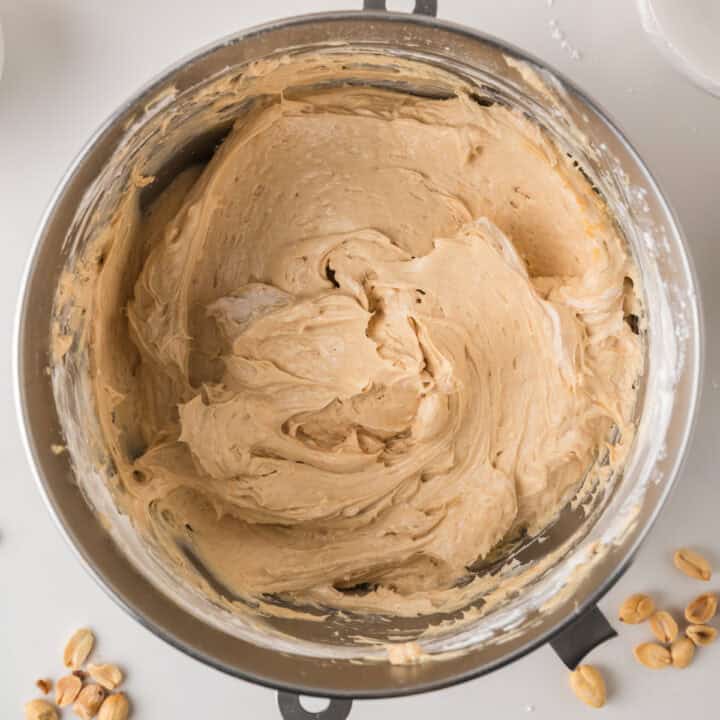
Peanut Butter Cheesecake Filling

Toppings
Assemble and Chill
Serve
Storage
Store covered in the fridge for 2-3 days, or freeze after sliced.
No-Bake Peaut Butter Pie
Ingredients
Recipe Directions
- Start by greasing your springform pan and setting aside.
- Then add all or your oreos to a food processor and process until they turn into crumbs. Add the butter and process again until it starts to clump up.
- Pour the crumb mixture into your springform pan and even out, push slightly up the sides to form the base and the crust of the cheesecake. Place in the freezer until you’re ready to pour in the filling.
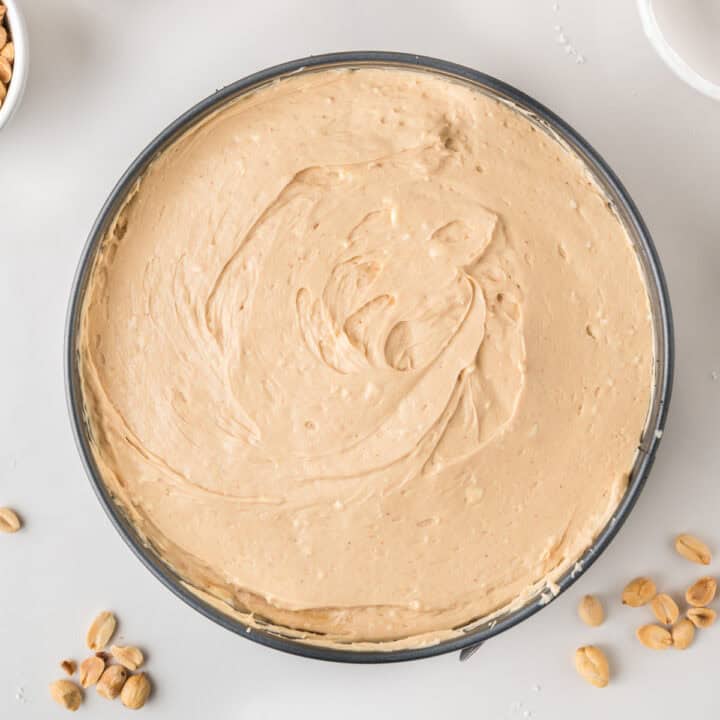
- Make the filling by beating together the cream cheese, peanut butter, sugar, and milk in a large bowl with your hand mixer. Then fold in the cool whip.
- Pour this mixture on top of the crust and let set in the fridge for about 4 hours.
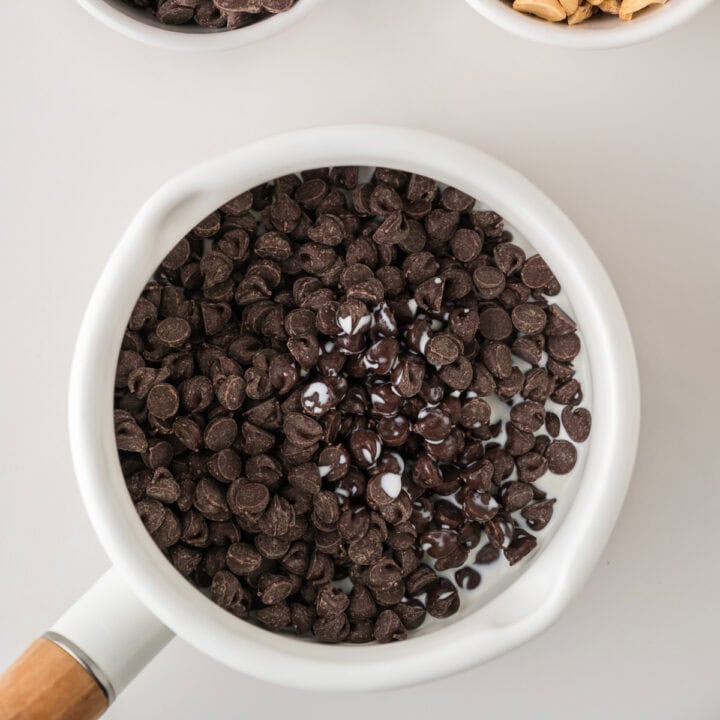
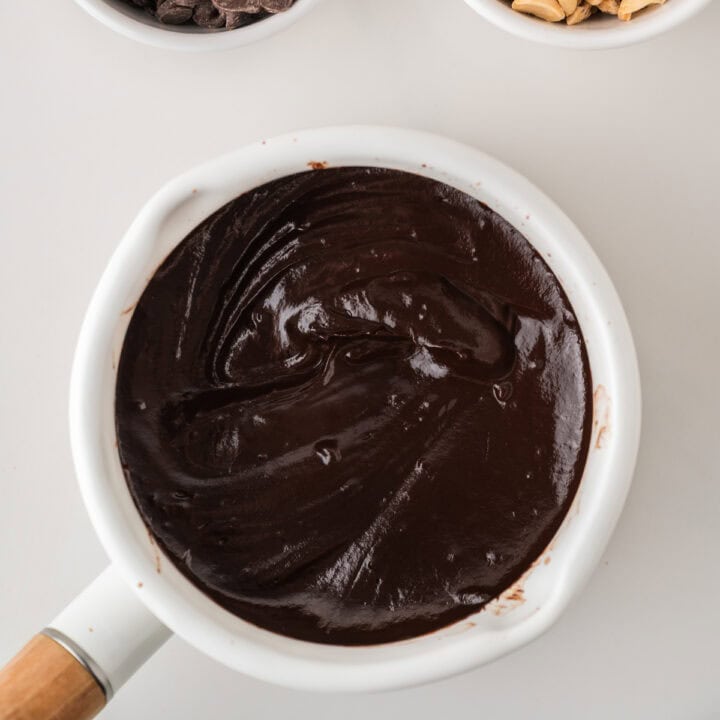
- After 4 hours, keep the cheesecake in the fridge, but start making the chocolate topping by adding the chocolate chips and half and half in a saucepan, stirring constantly until all of the chocolate chips are melted and it’s smooth, about five minutes.
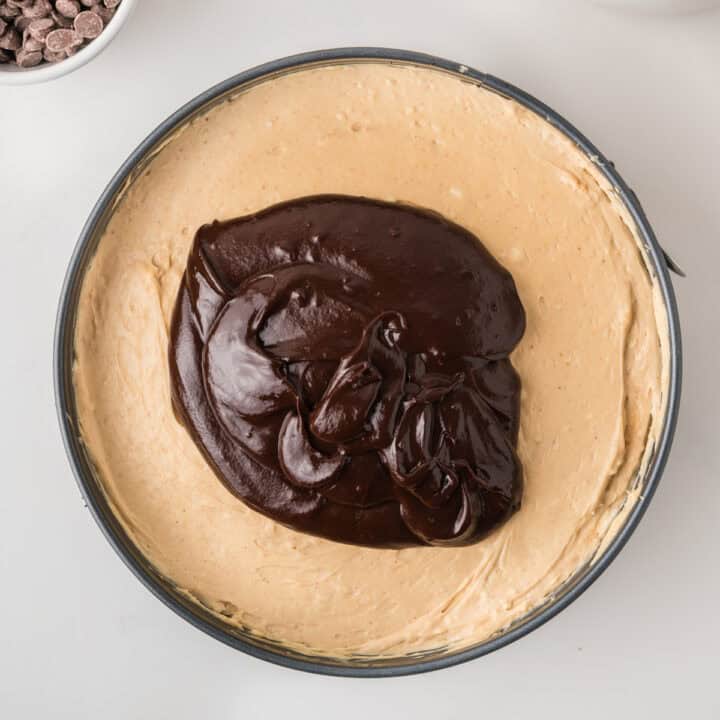
- Pour the chocolate topping on top of the cheesecake and smooth out to the edges. Place back in the fridge for at least two hours.
- Once set, carefully score and then cut the cheesecake into 8-10 slices, serve, and enjoy!
Nutrition
Your Private Recipe Notes
Tried this recipe?
Let us know how it was!Get new recipes by email
Subscribe to get new posts delivered to your inbox.