
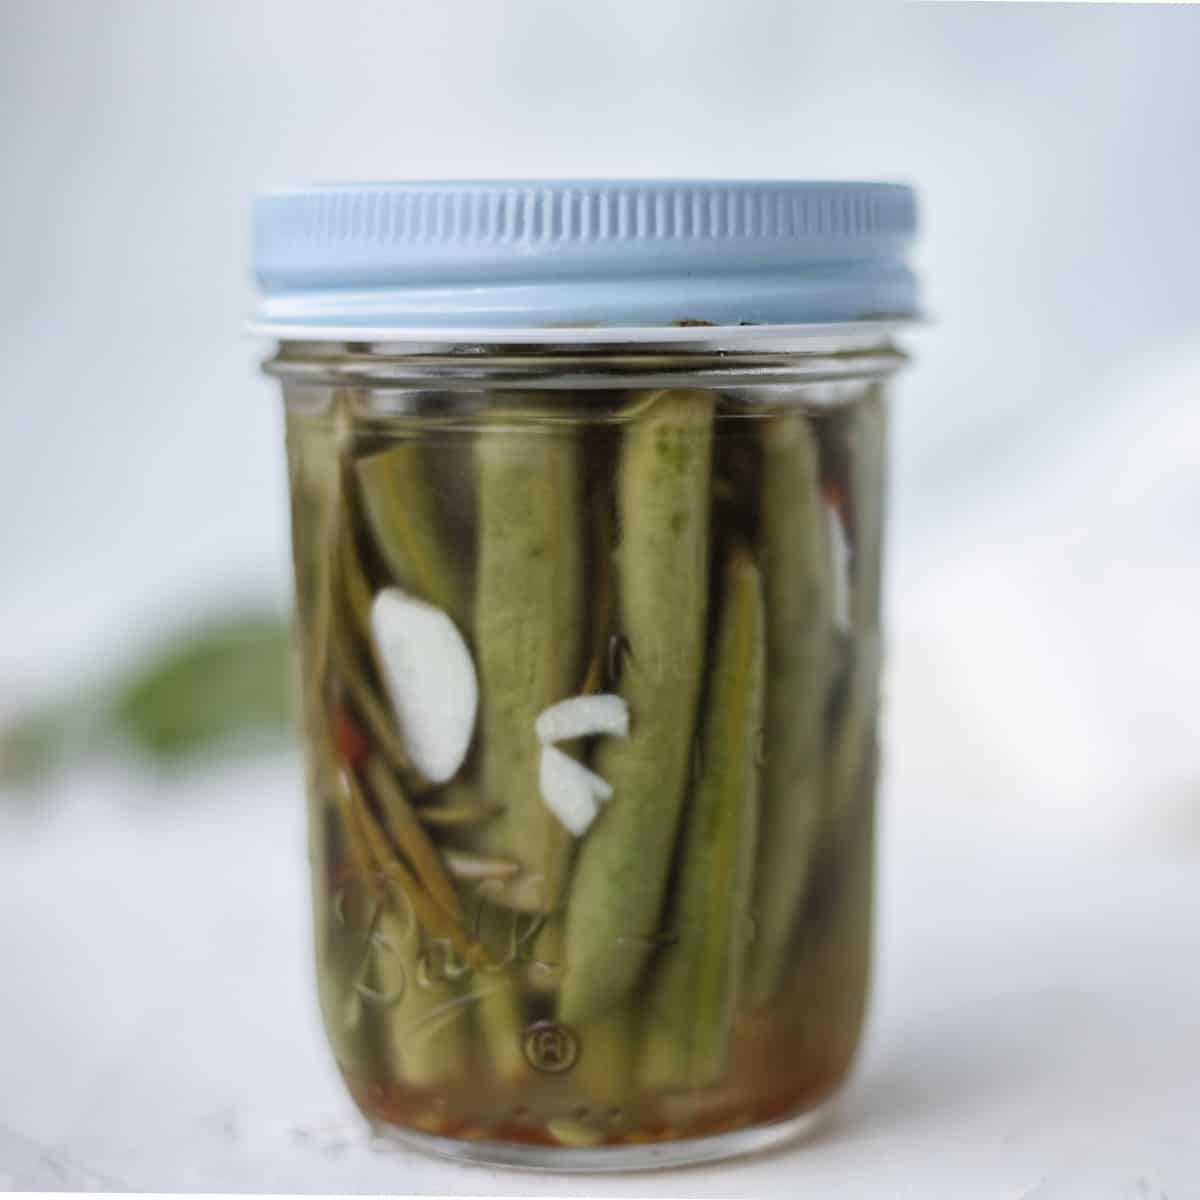
This simple easy small batch quick pickled green beans recipe only requires a few minutes of hands-on time. Just a hint of spice to give these green beans that extra flavor boost. These simple beans are a wonderful treat.
These petit pickled tomatoes, small batch roasted tomatoes and single serving roasted glazed carrots go great with these beans.
Would you like to save this recipe?
Recipe Highlights
This is a quick small-batch recipe that uses just a few simple ingredients. It’s a great addition to salads or as a side dish. And the best part: no canning is required. Store in the refrigerator for up to two weeks.
Ingredients Notes
You only need a few simple ingredients and minimal hands-on time to prepare these lovely pickled green beans.
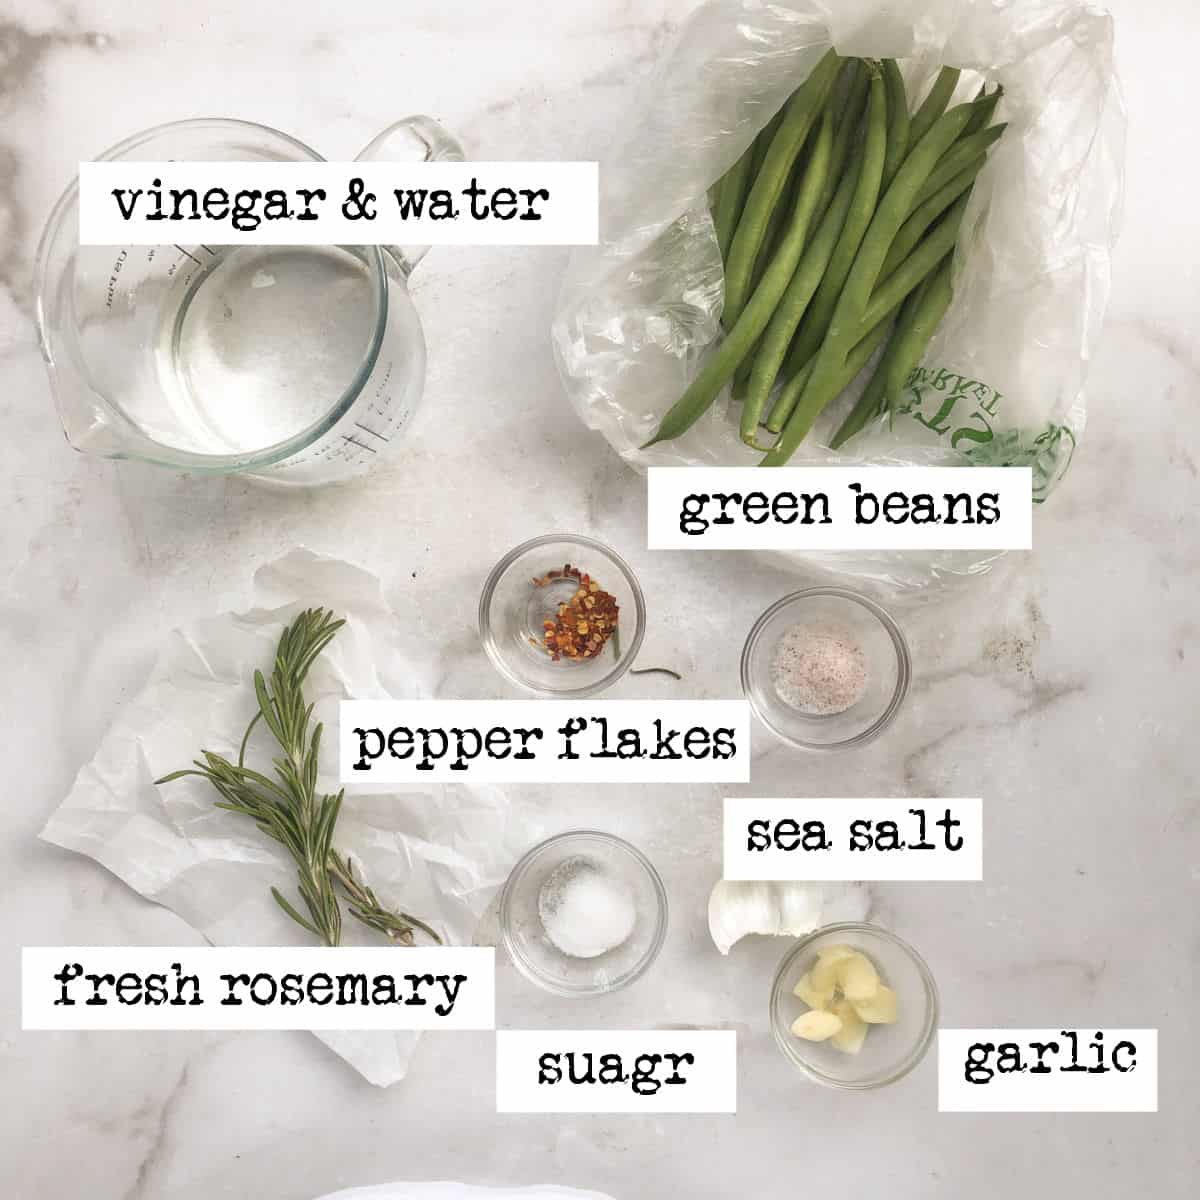
- Pickling Brine: This is a sweet brine made from a combination of white vinegar (5% acidity), water, sea salt, and sugar.
- Salt: Do not use table salt or any salt that contains an anti-caking agent. My go-to salt is Redmond Kosher sea salt; it indicates on the jar that it’s for cooking and pickling.
- Green Beans: Fresh firm green beans are cut in half to fit into the mason jar.
- Spices: In this recipe, I use a simple mix of red pepper flakes for a hint of spice, garlic, and fresh rosemary. Fresh dill can be substituted
See the recipe card for ingredient quantities.
Step by Step Recipe Directions
(Note: For complete written instructions, please see the recipe card at the bottom of the post.)

Step One: Wash and dry the green beans. Instead of blanching, I pour boiling water over them to bring out the color and help preserve a little crispness.

Step Two: Cut the beans to fit into the mason jar. I start by cutting in half and then taking off extra if needed.

Step Three: Wash and dry an 8-ounce tall mason jar. Pack the green beans into the mason jar and add the sliced garlic and red pepper flakes. Tuck the fresh sprig of rosemary into the jar.
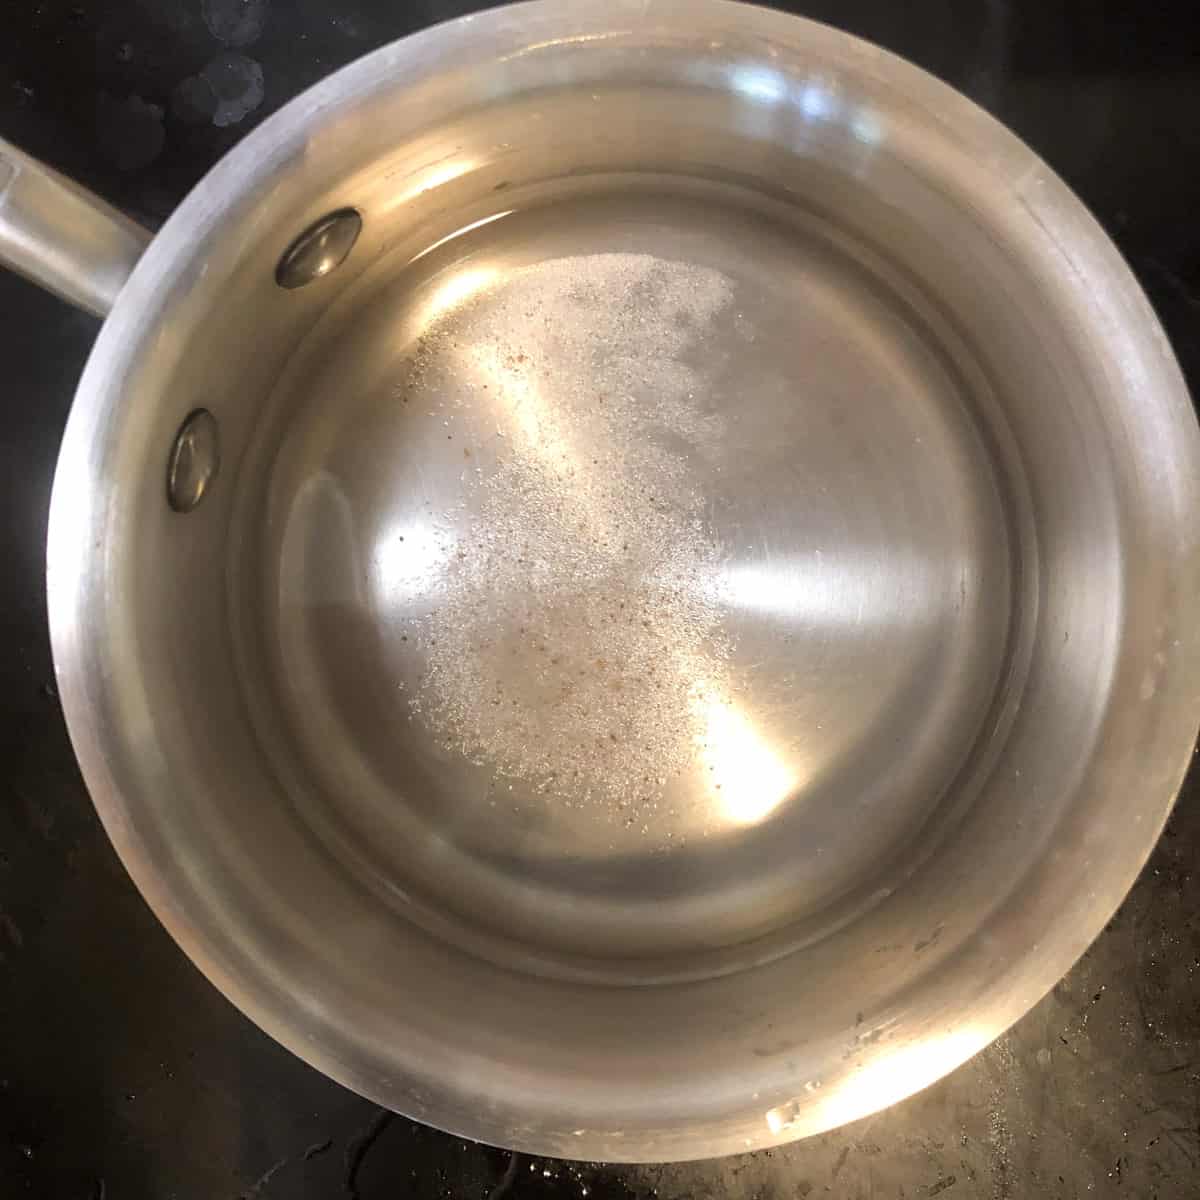
Step Four: Prepare the brine liquid. Bring the vinegar, water, salt, and sugar to a boil in a small saucepan. Make sure the brine liquid comes to a full boil for 2 minutes.
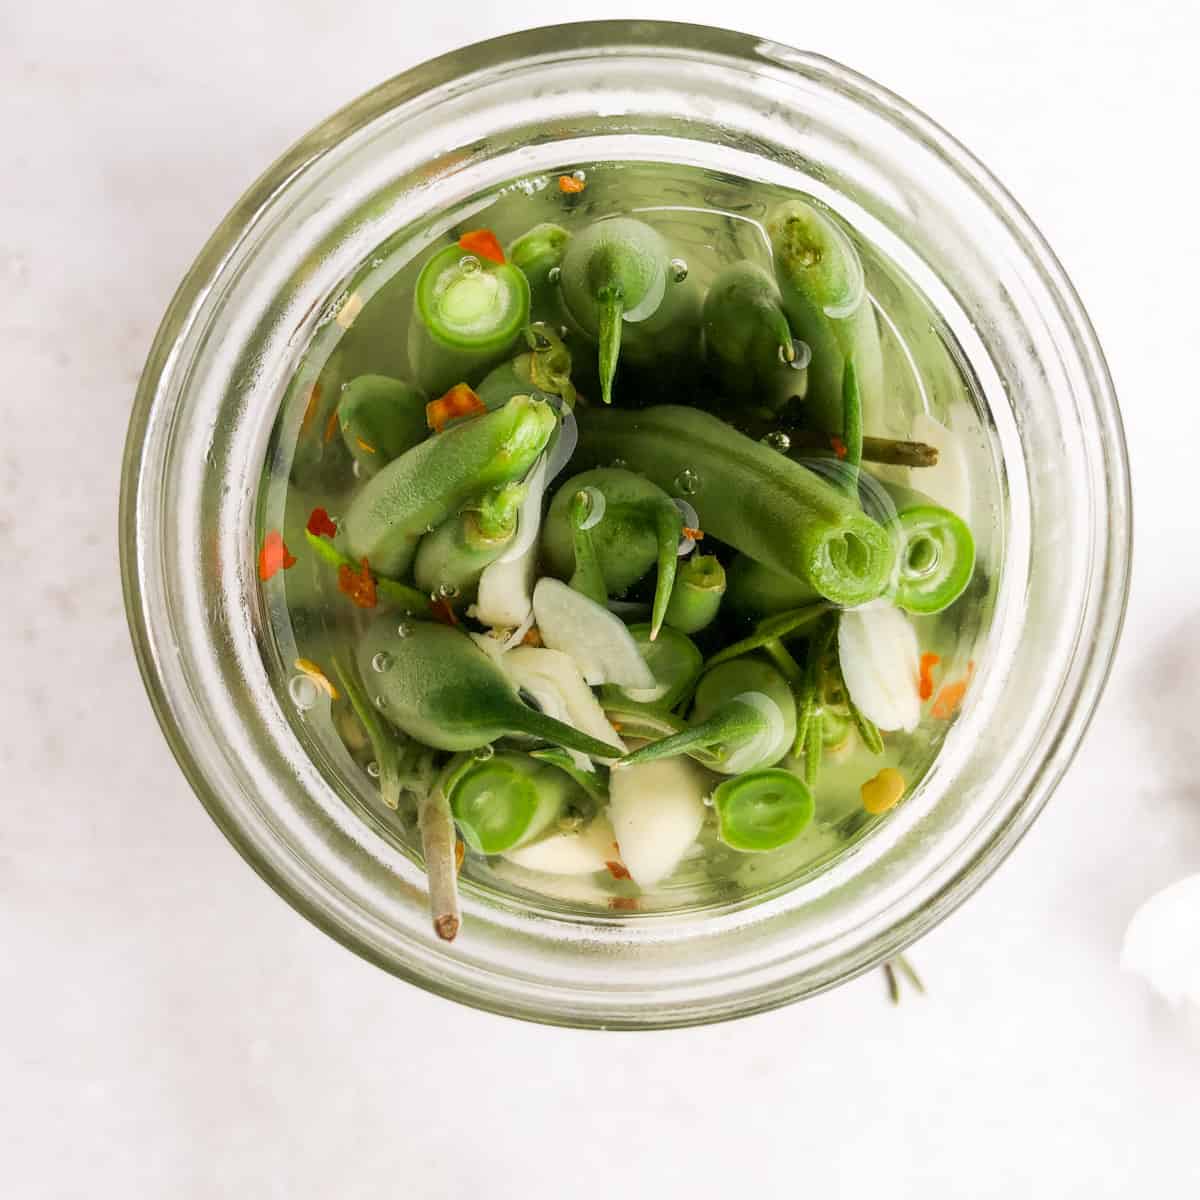
Step Five: Carefully pour the brine liquid into the jar, fully emerging the green beans and leaving about 1/2 inch of the top of the rim of the jar.

Step Six: Cover with a lid and tap down to break up any air bubbles. Let the jar cool on the counter for about 30 minutes until it reaches room temperature, and then place it in the refrigerator. For the best flavor, let the beans sit in the refrigerator for 24 hours before serving. However, I think they are best after 48 hours.
Helpful Tools
- Small Saucepan: I own a small butter warmer pan from “made-in” and use it often.
- Cutting Board: I love flexible cutting boards!
- Sharp Knife This Victronix Chefs knife is affordable and of great quality. I purchased mine 15 years ago and it still gets used almost every day.
- Canning Jars: Classic 8-ounce (half-pint canning jars)
- Mesh Strainer
Ways to Serve Pickled Green Beans
- Serve on a cold salad or as a garnish.
- Chop up and add to rice.
- Add to a cheese plate or charcuterie board.
Recipe Notes and Tips
- Use the freshest green beans you can find; fresher equals a crisper bean. Refrigerator pickled green beans should not be stored in the pantry; they must be stored in the refrigerator.
- The canning jars do not need to be sterilized but you should clean them with hot soapy water, rinse and dry the jar.
- Make sure the brine comes to a full boil.
- Green beans do not need to be blanched first.
How to Store Leftovers
Properly store the pickled green beans in the refrigerator and they will remain good for up to 2 weeks. Always keep the green bean refrigerator. These should not be frozen.
Quick Pickled Green Beans: Frequently Asked Questions
Use a tall half-pint (8-ounce) mason jar or use a pint jar if doubling the recipe.
The standard is white distilled vinegar; however, you can also use apple cider vinegar to pickle greens and beans.
No, but pouring boiling water over the green beans helps brighten the color.
Did you make this recipe? I would love it if you left a comment or review! Be sure to sign up for the email list and follow “A Weekend Cook” on Pinterest and my Facebook page.
Pickled Green Beans
Ingredients
Recipe Directions
- Wash and dry the green beans. Instead of blanching I pour boiling water over the green beans to bring out the color and help preserve a little crispness.
- Cut the beans to fit into the mason jar. I start by cutting in half and then taking off extra if needed.
- Wash and dry an 8-ounce tall mason jar. Pack the green beans into the mason jar and add the sliced garlic and red pepper flakes. Tuck the fresh sprig of rosemary into the jar.
- Prepare the brine liquid. In a small saucepan bring the vinegar, water, salt, and sugar to a boil. make sure the brine liquid comes to a full boil for 2 minutes.
- Carefully pour the brine liquid into the jar, fully emerging the green beans and leaving about 1/2 inch of headroom from the top.
- Cover with a lid, and tap down to break up any air bubbles. Let the jar cool on the counter for about 30 minutes, until it reaches room temperature then place it in the refrigerator. For best flavor, let the beans sit in the refrigerator for 48 hours.